Settings
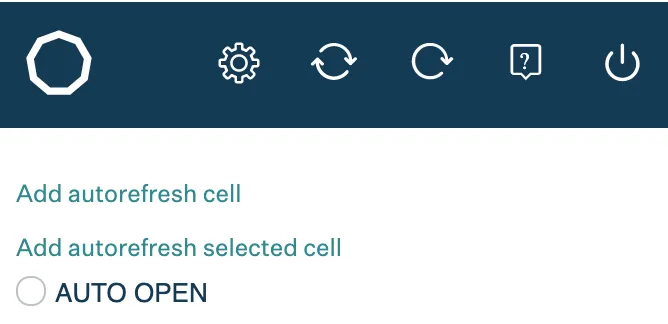
Open the settings by clicking the Show Settings (gear) icon in the add-in’s top bar.
Autorefresh
Section titled “Autorefresh”Autorefresh cells let you trigger data refresh from the spreadsheet itself, for example from a macro.
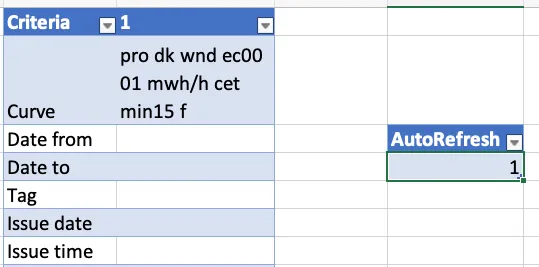
Both cell types use the same values: write anything other than 1 or 2 to trigger a refresh.
While the refresh runs the cell shows 2, and 1 when it has finished.
Refresh all tables
Section titled “Refresh all tables”Select a cell outside any curve table and click Add autorefresh cell. The autorefresh table appears. Changing its value refreshes every table in the workbook.
Refresh one table
Section titled “Refresh one table”Select a cell outside any curve table and click Add autorefresh selected cell. The autorefresh selected table appears.
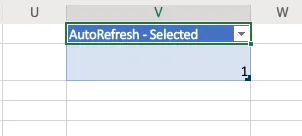
Changing its value refreshes the table you have selected, so change the value and then immediately place the cursor on the table you want refreshed. This is mainly intended for use from a macro.
Auto-open
Section titled “Auto-open”Together with the autorefresh cell, you may want the add-in to load when the Excel file is opened.
- Enable this with the auto-open checkbox.
- The setting is saved in the Excel file.
- It is off by default, and you can turn it off at any time.
Filter data results
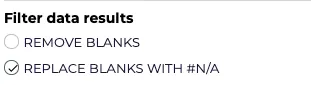
Section titled “Filter data results”Curve tables can contain dates the API returns without a value. You can remove or replace these blanks:
- Remove Blanks excludes those rows.
- Replace blanks with #N/A inserts the
NA()function.
To turn the filter off, click the selected option again so that neither option is selected.
Show date points
Section titled “Show date points”When a curve has no data, the table shows a no points error.
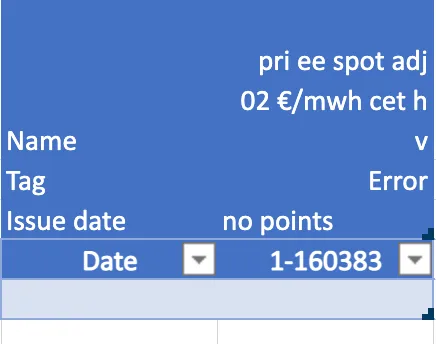
You can still generate rows containing only dates:
-
Select Show date points in the settings.
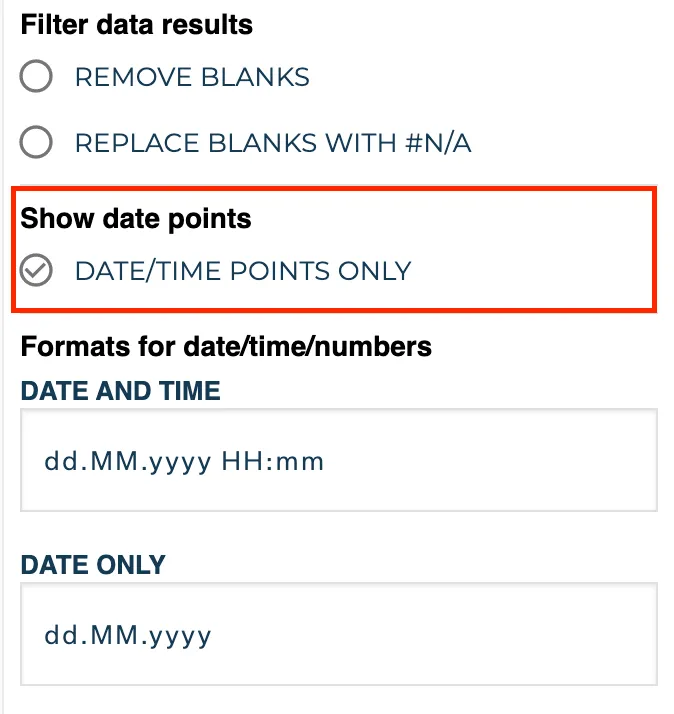
-
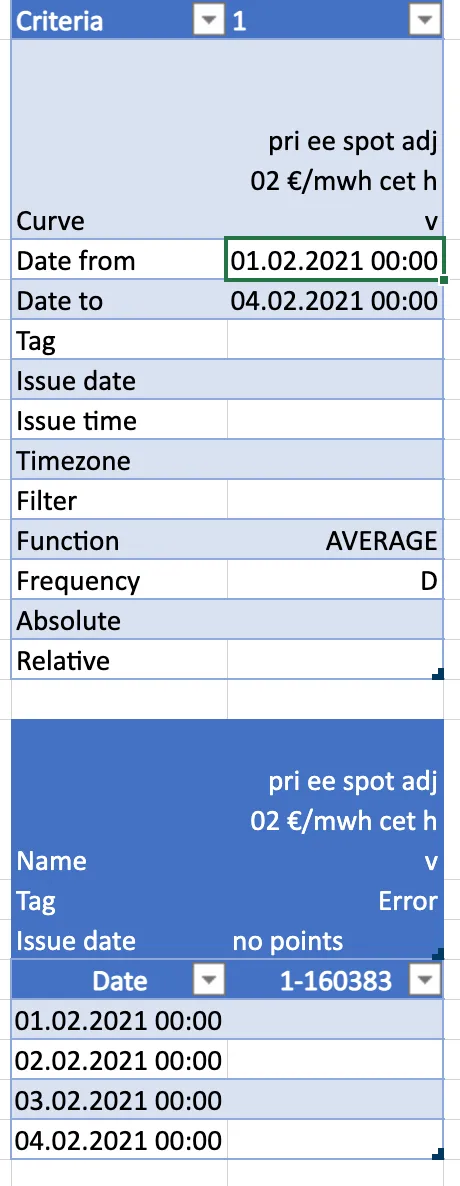
Fill in date from and date to in the table, then click refresh.
You can also set the frequency of the dates. The default is the curve’s data frequency.
Formats for date, time and numbers
Section titled “Formats for date, time and numbers”Set the format of dates, times and numbers in generated data, and of the date picker in the add-in:
- Date and Time is used wherever a full date, or a date with time, is shown.
- Date Only and Time Only are used only for the Issue Date and Issue Time inputs.
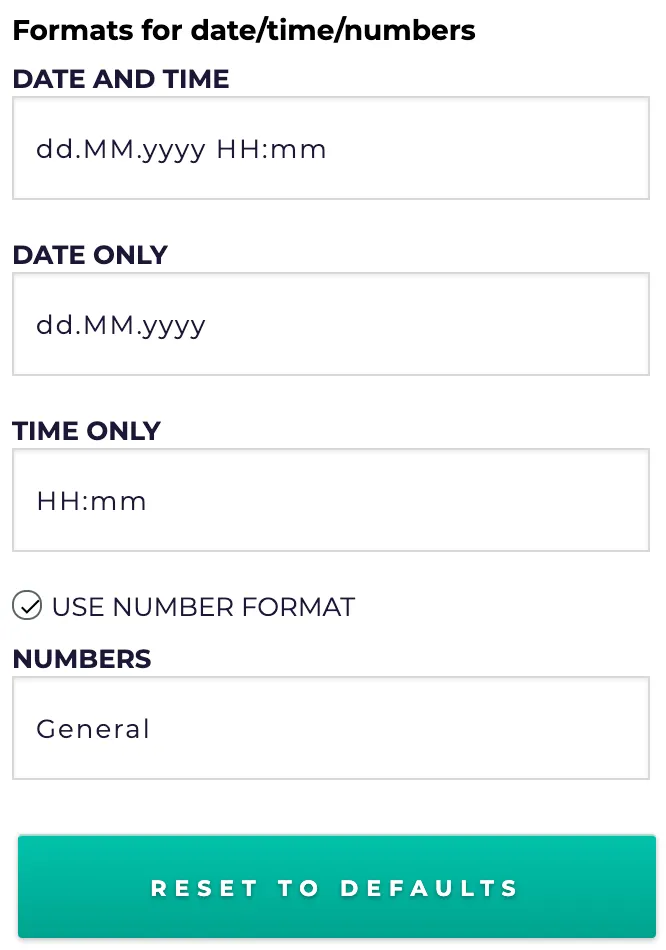
Type the format you want in the input field, then click the refresh button.
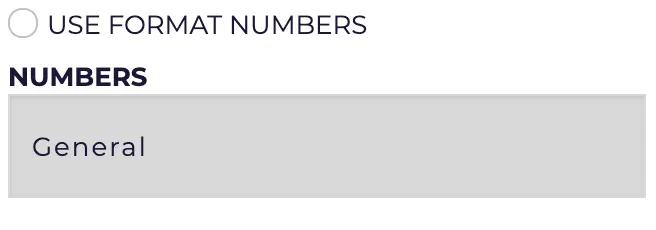
To keep your own number format on generated results instead of the add-in’s default format, clear Use number format.
Click Reset to Defaults to restore the default format configuration.