Step-by-step guide
This guide walks you through finding curves and loading their data into Excel. If you have not installed the add-in yet, start with Installation.
1. Set up the search criteria
Section titled “1. Set up the search criteria”Use search filters
Section titled “Use search filters”When you first open the add-in there are some predefined search filters: Areas, Categories and Sources.
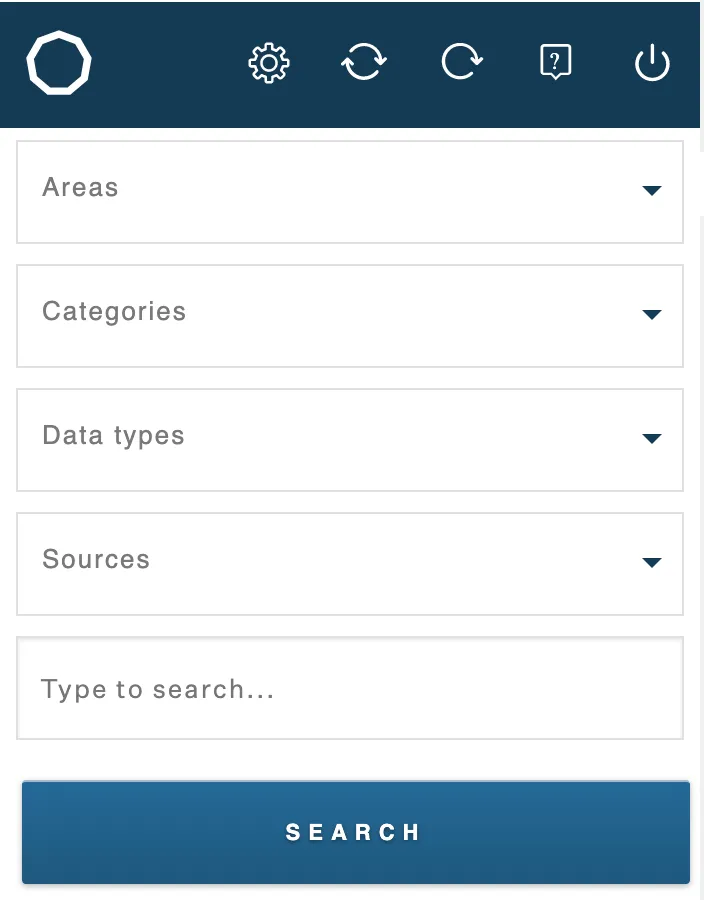
-
Click the filter you want to use to show its options.
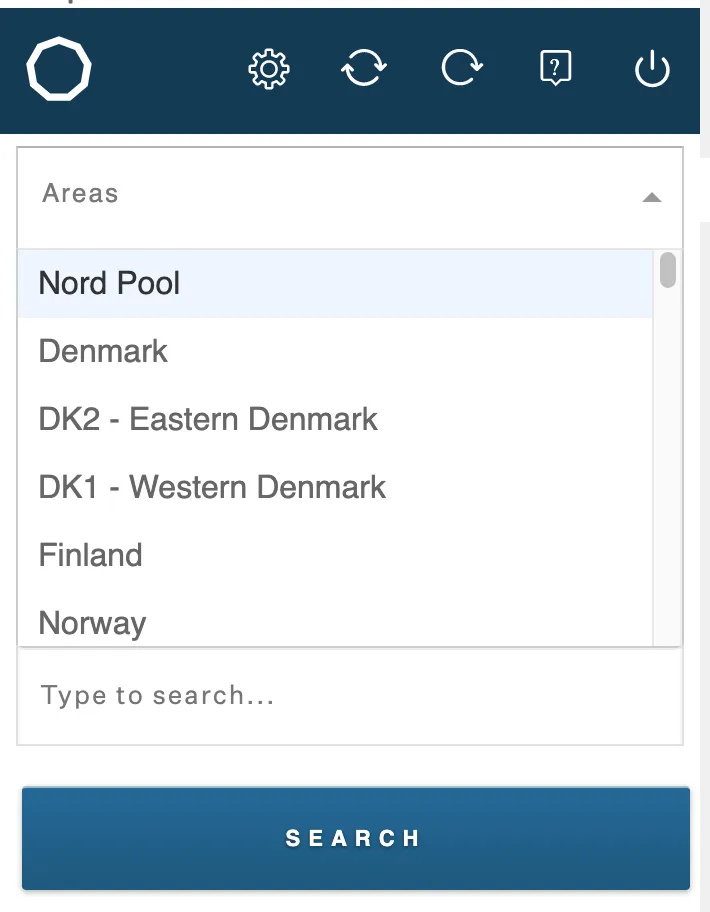
-
Click an option to add it to your search criteria.
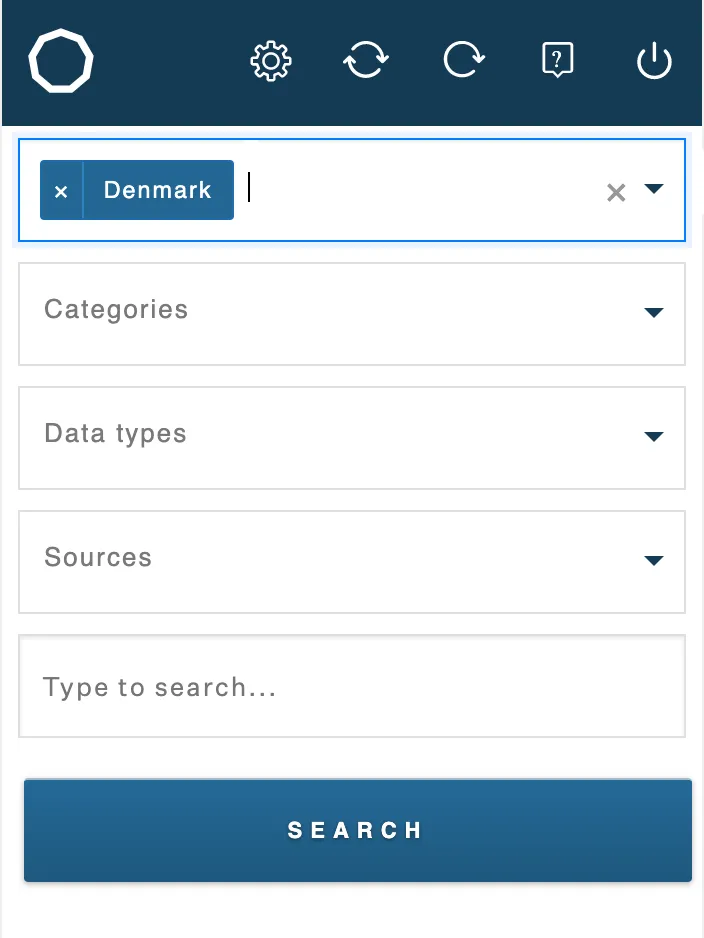
-
Add more options from the same filter, or type to search for an option.
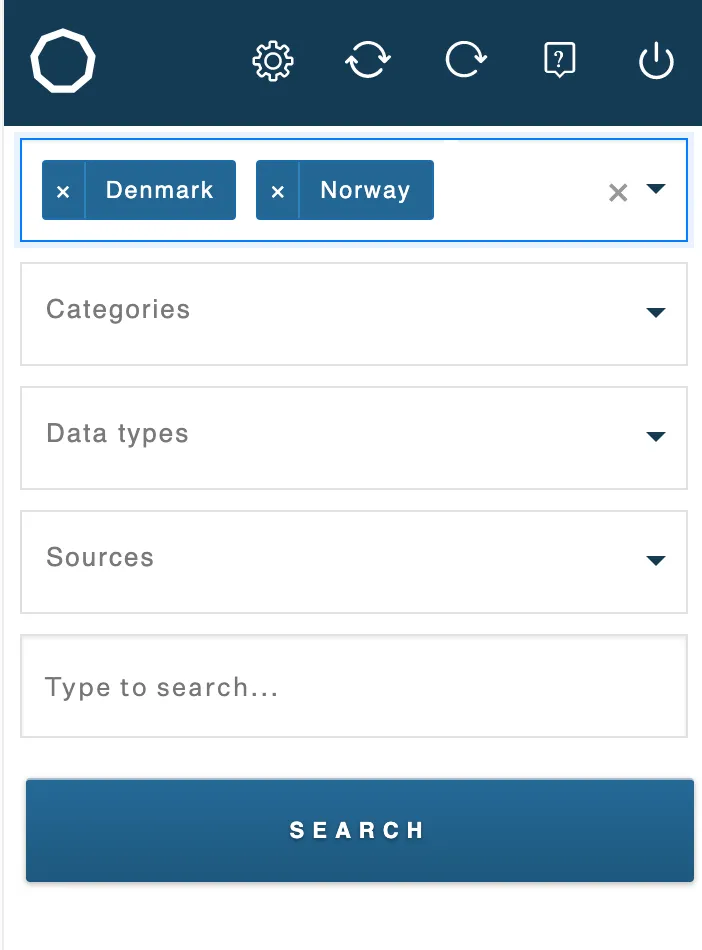
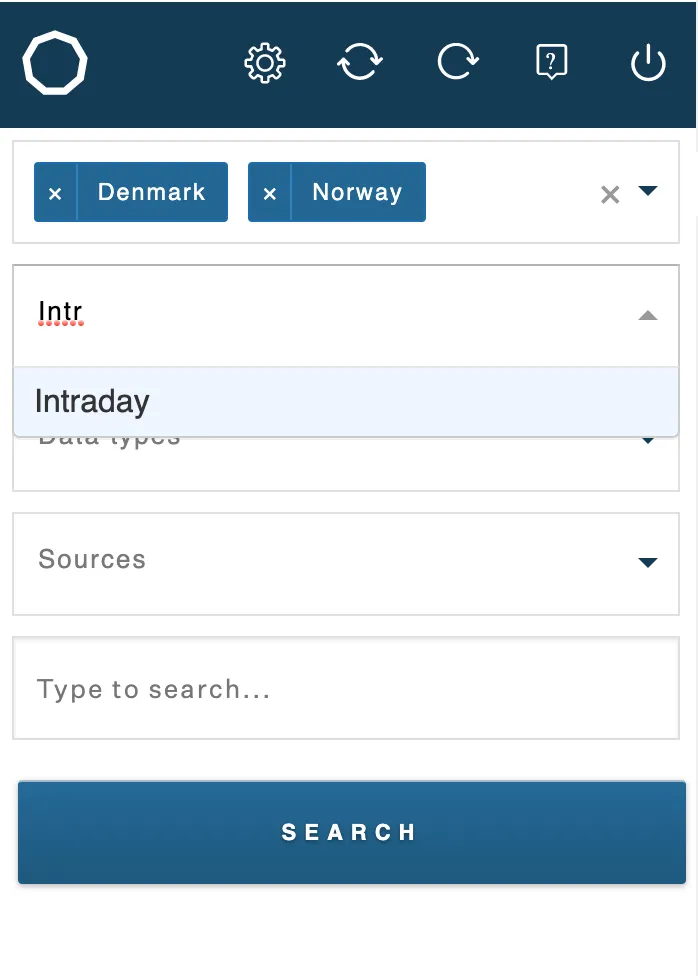
-
Combine options from different filters to narrow down your search.
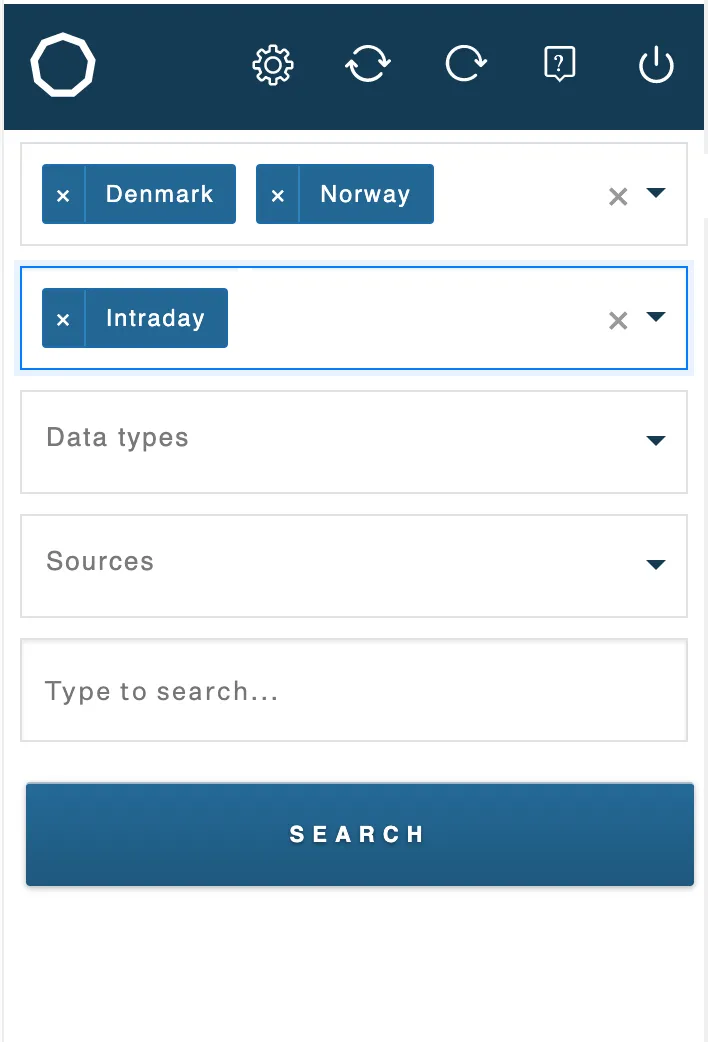
Change search filters
Section titled “Change search filters”To change the predefined search filters, click the Show Settings (gear) icon in the top bar.
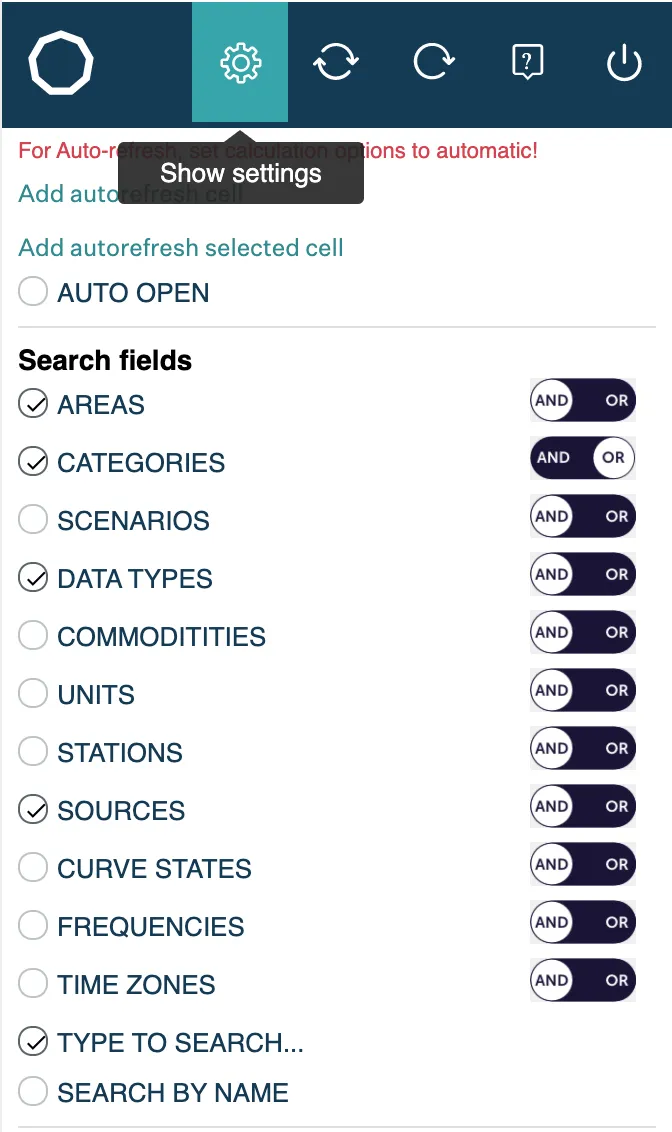
In the search settings you can:
- choose which search filters to use,
- set whether each filter behaves as AND or OR,
- choose the date and time formats to use.
Click RESET TO DEFAULT at the bottom of the view to restore the defaults.
Use the search field
Section titled “Use the search field”You can also type in the search field to find curves. This is useful when you know exactly which curve you are looking for.
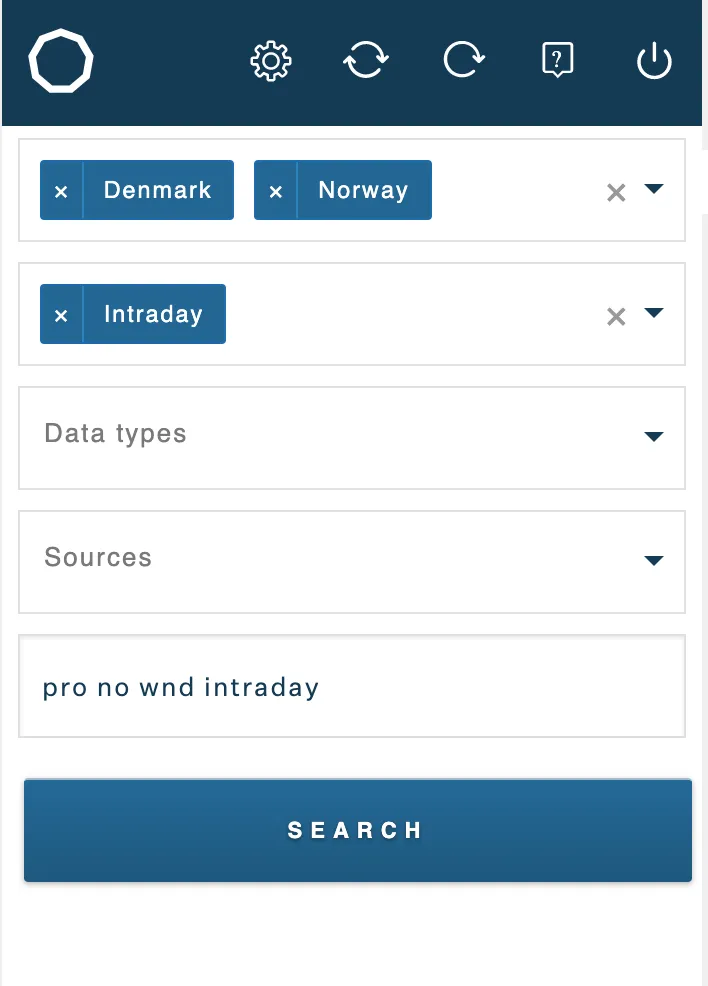
2. Search for curves
Section titled “2. Search for curves”Click SEARCH. Matching curves are listed under Search results.
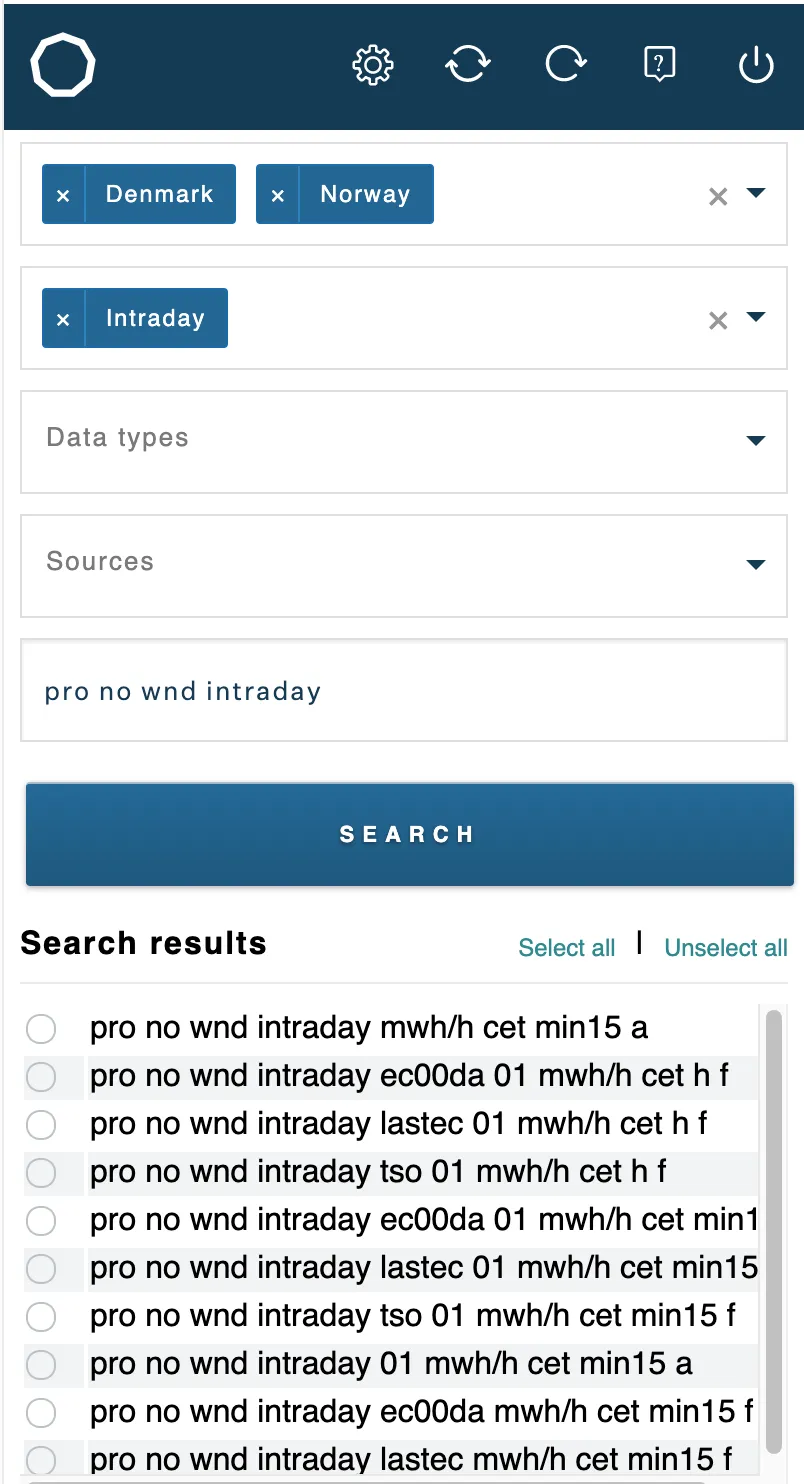
3. Choose curves
Section titled “3. Choose curves”Click the circle next to a curve name to select it. You can select more than one curve.
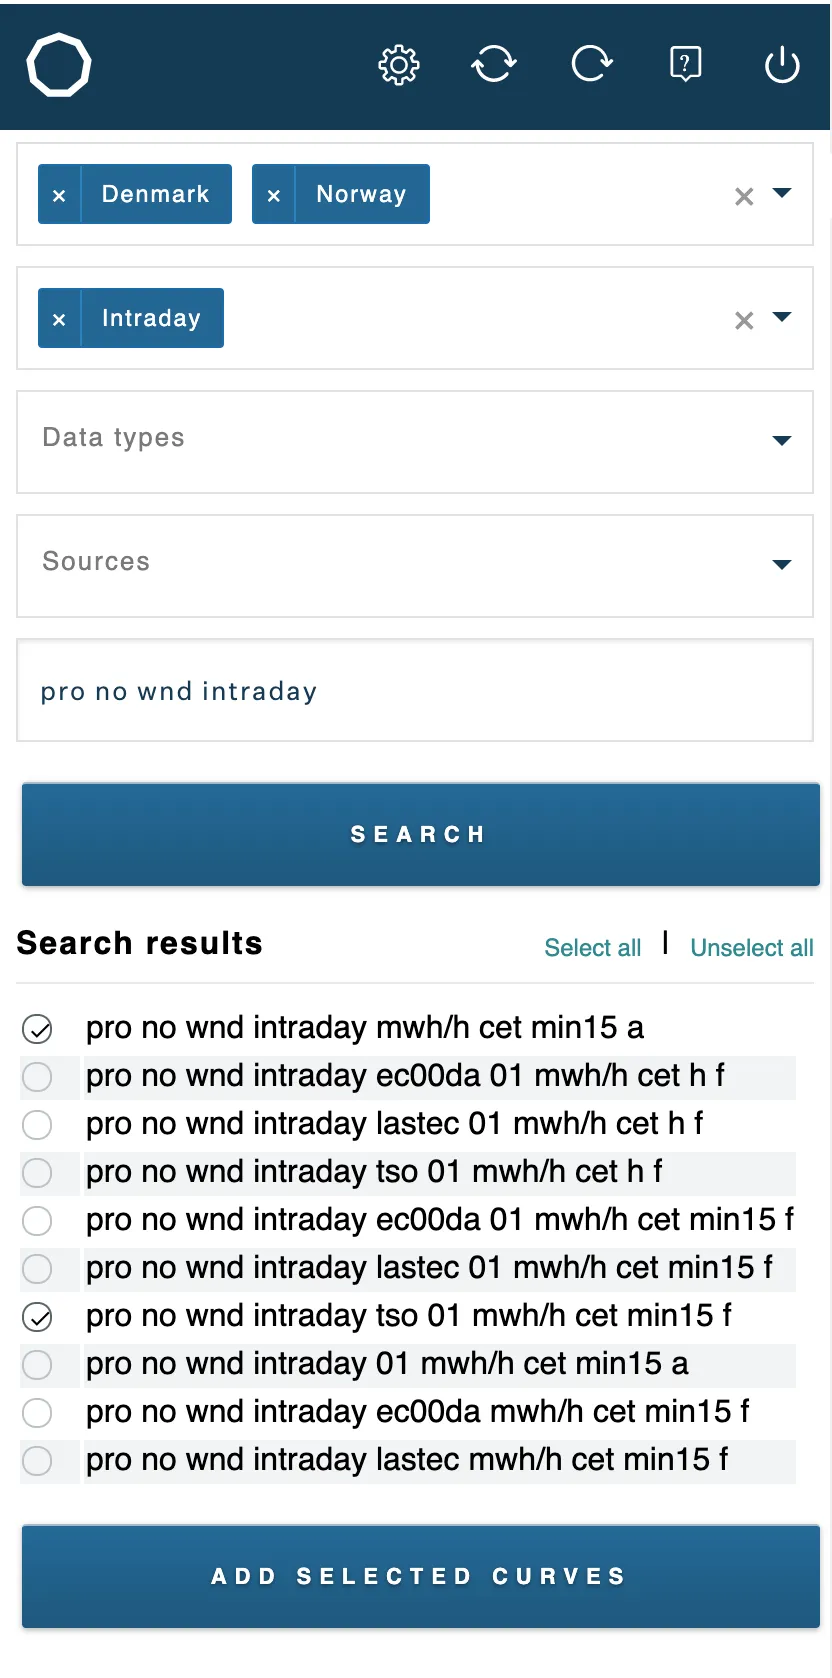
To select every curve in the results, click SELECT ALL next to the Search results title. Click UNSELECT ALL to undo.
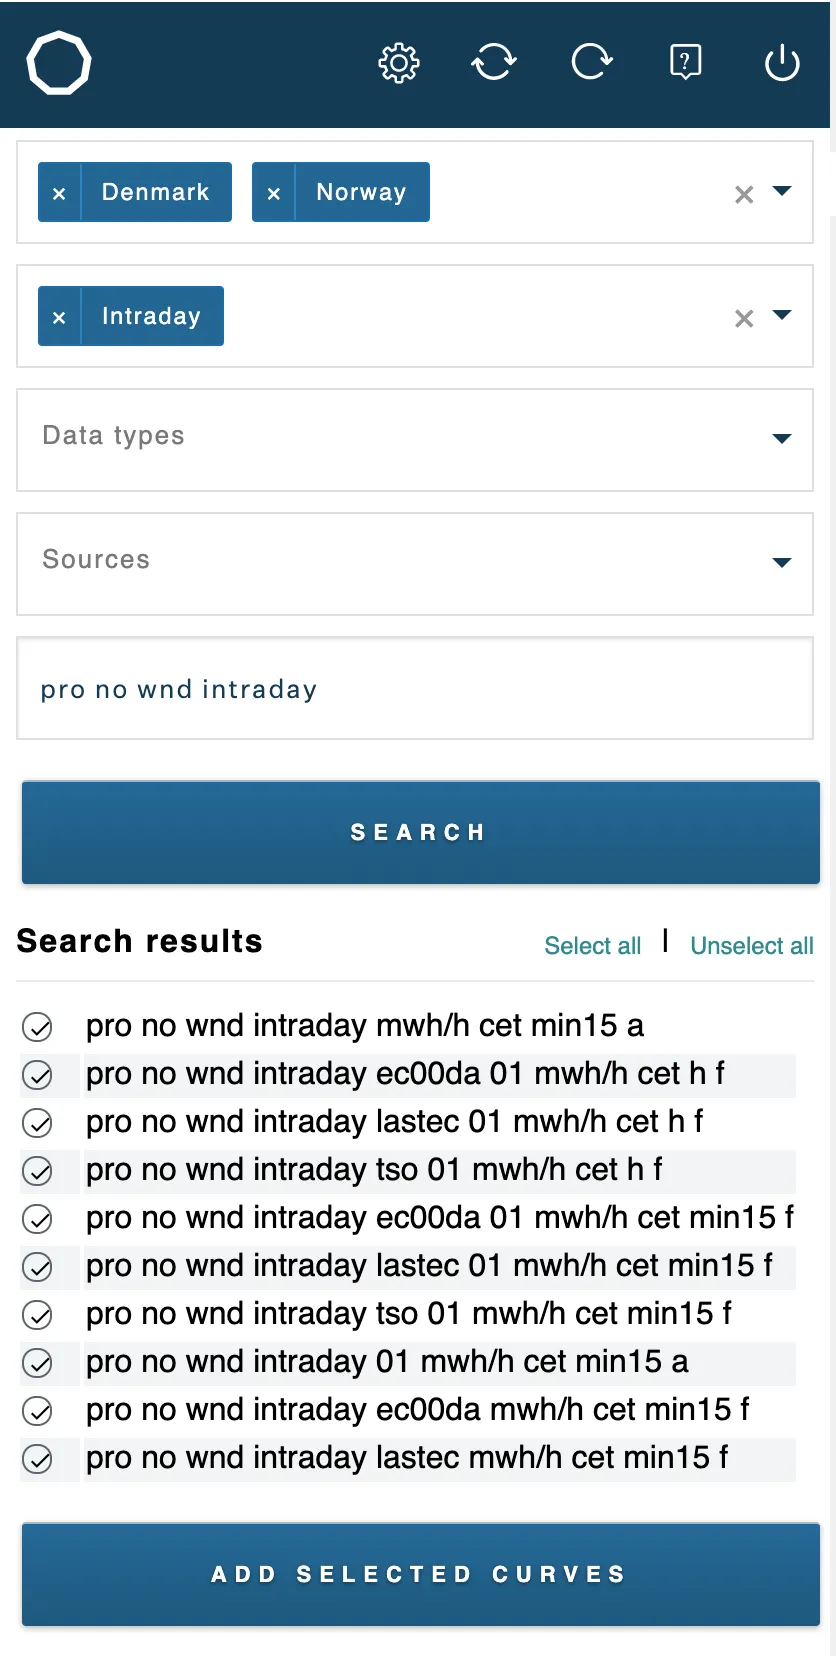
4. Add curves to the spreadsheet
Section titled “4. Add curves to the spreadsheet”-
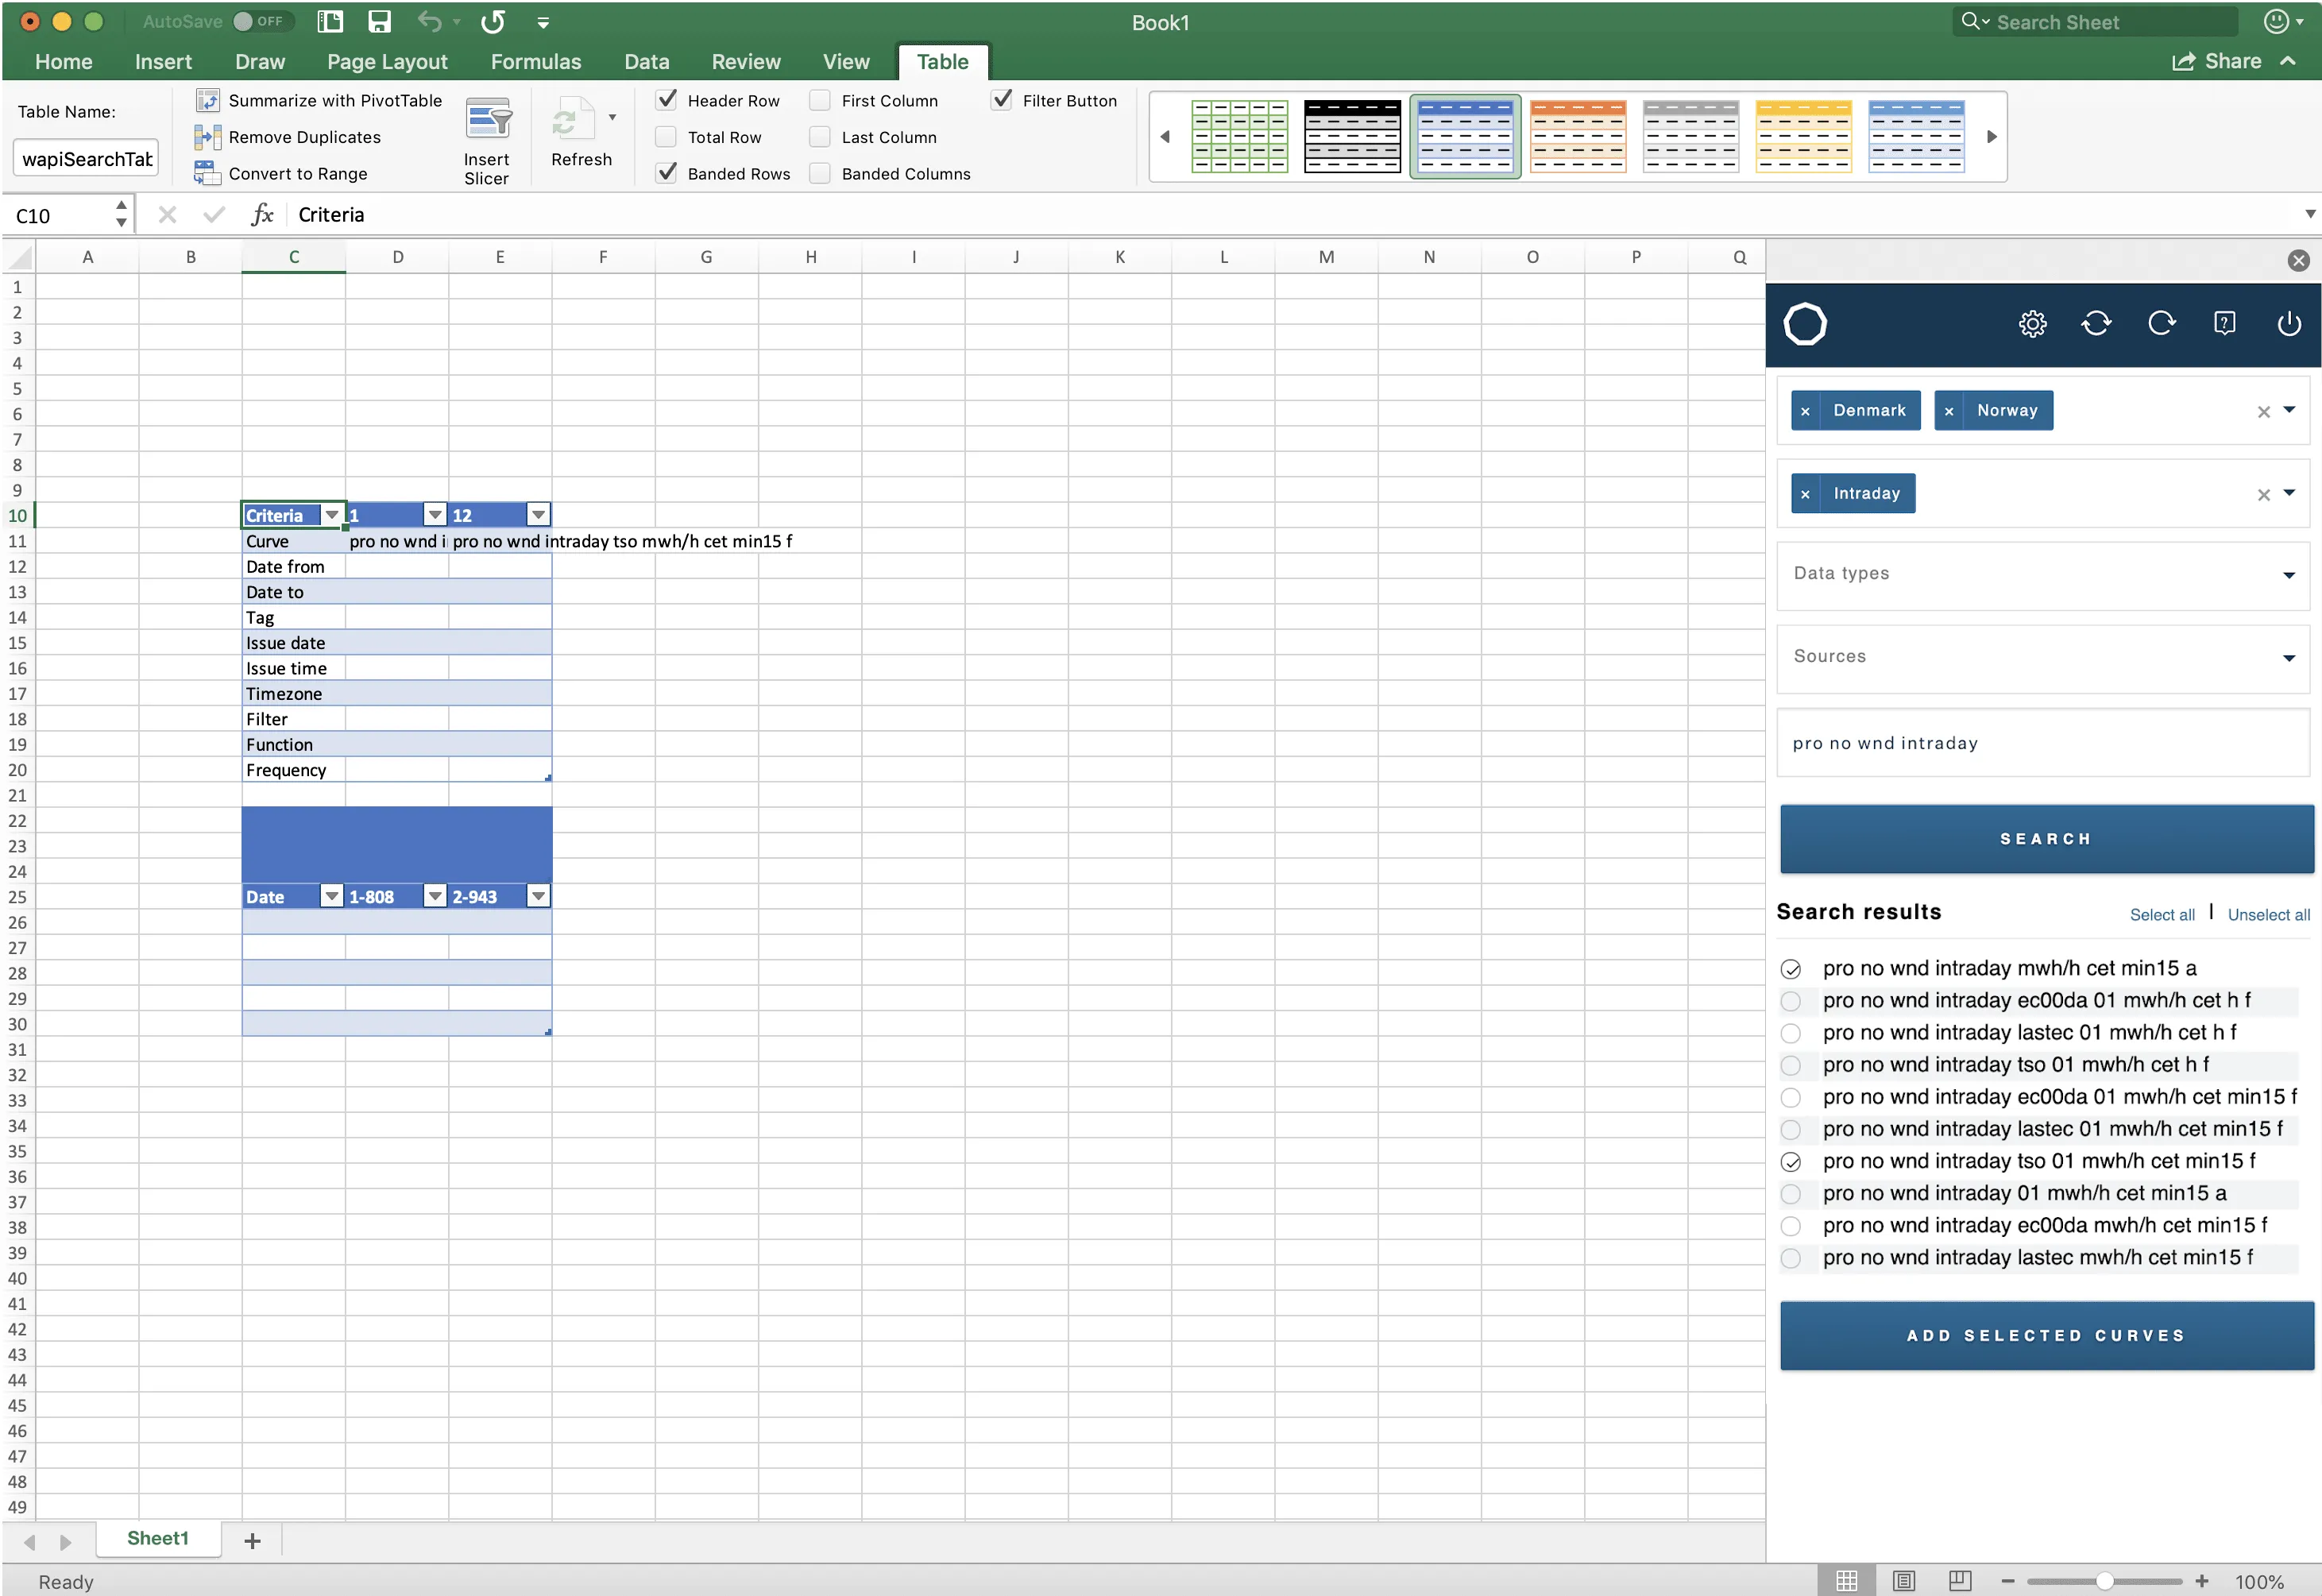
Click ADD SELECTED CURVES. The curves are added to your spreadsheet.
-
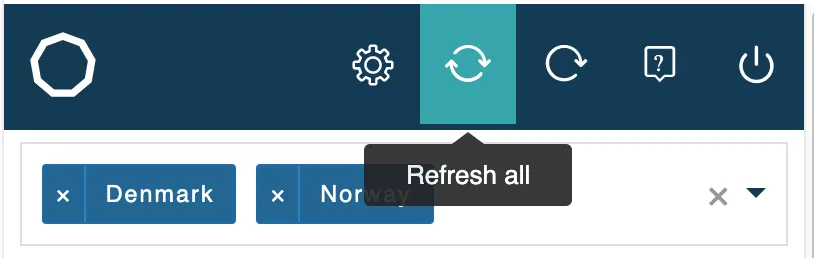
Click the circular arrows in the top bar to load the data.
5. Filter the data
Section titled “5. Filter the data”Use the filters in the upper part of the curve table to refine the query, then reload the data.
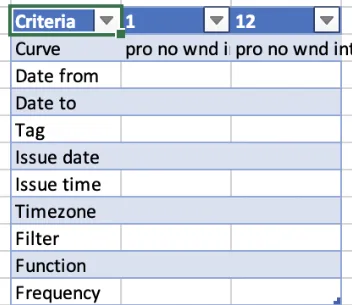
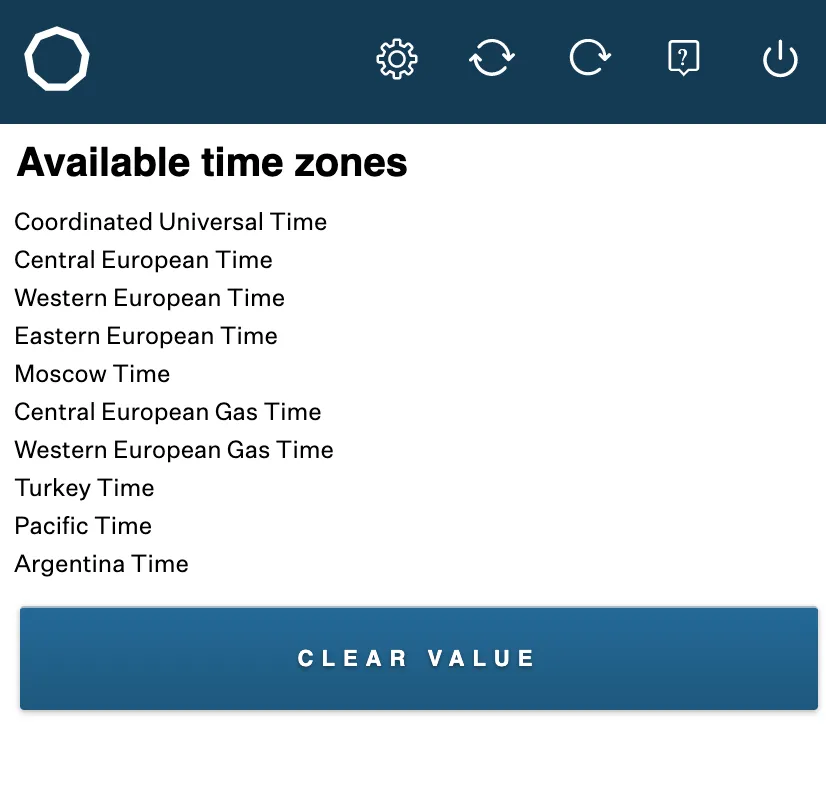
Time zone, filter, function and frequency options then appear in the add-in panel on the right.
More help
Section titled “More help”If you need more guidance, email support.insight@volue.com.